

Medium1
vendredi 2 juin 2023
I started to use Obsidian one year ago and I’m continually amazed by how many things you can do with it.
Keeping track of the books that I’ve read or I want to read is one of
the thing that I like to do inside Obsidian.
There are various methods to do this — Dataview queries
or DB Folder are two example — but in this article I am
going to show you how I do that by using Book
Search and Projects plugins.
I use three plugins:
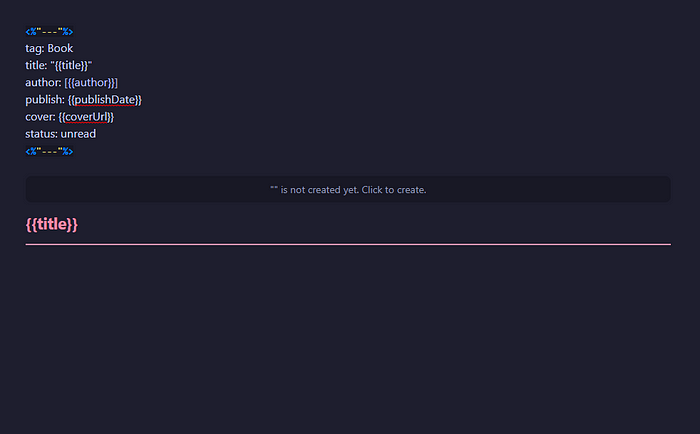
Let’s start by creating the template that will be used in our book notes.
<%"---"%>
tag: Book
title: "{{title}}"
author: [{{author}}]
publish: {{publishDate}}
cover: {{coverUrl}}
status: unread
<%"---"%>
The title, author, publish and cover fields
will be filled in automatically thanks to the Book
Search plugin. I’ve also added
a tag field Book and a status field
set to unread since when I add a book is because I want to read
it in the future. I will change
the status to read once I’ve finished to read the
book.

# {{title}}The first line will show the cover image above the title in the body of the note. With the second line, the title of the book will be automatically used for the H1 title of the note.
This is how the template note looks like:

Now we are ready to create our book notes.
These are my Book Search plugin settings:
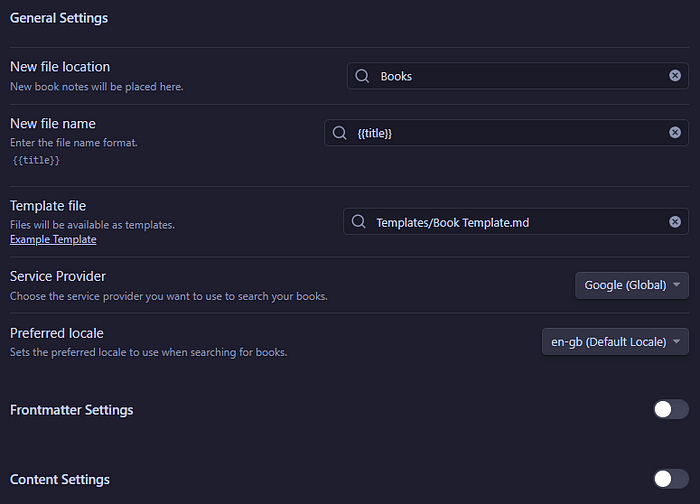
Every book I will search and select through this plugin, will be placed inside my vault, in a folder called “Books”. The title of the book will be automatically used as the name of the file, and the Book Template will be automatically applied to the note.
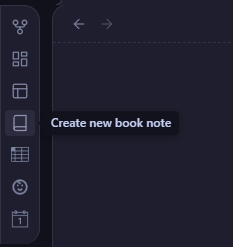
To use the plugin you just need to open your command palette, search for Book Search and click on “Create new book note”.

Alternatively you can click on the button in your ribbon menu.
After that, you will see a search bar where you have to write the book you are looking for.

By clicking the button “Search”, Book Search will show you the results from which you can select the book you were looking for.
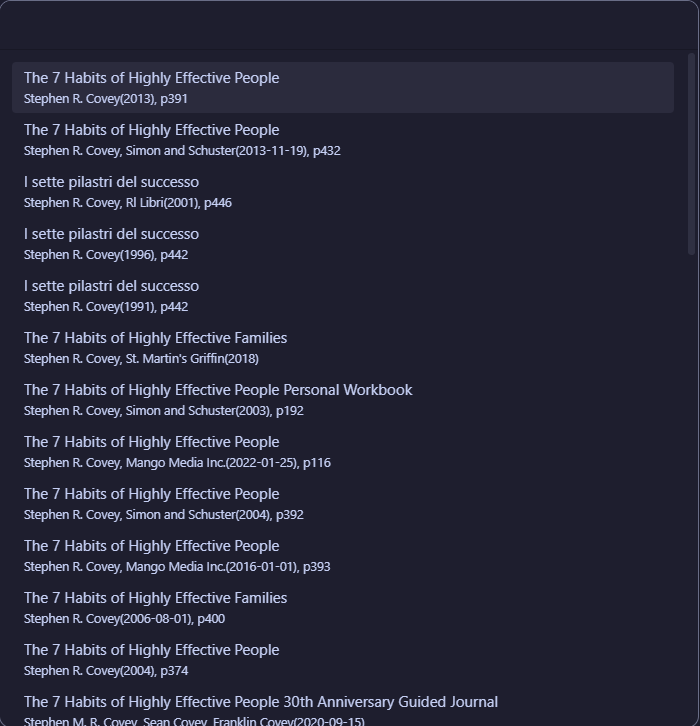
At this point the plugin will automatically create your note.
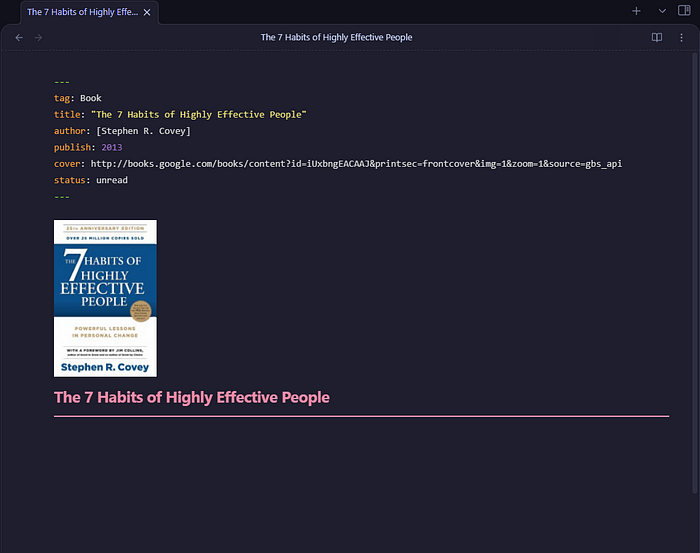
While I’m reading the book, I use this note to write down some observations; at the end, once I’ve finished to read it, I write down my final thoughts and impressions.
Now that we have our folder that contains all our books, it would be nice to have a database that helps you to consult them easily and quickly. For this purpose I like to use Projects.
I love this plugin because it allows you to manage, keep track and
visualize your notes by
using table, calendar, board and gallery views.
Today we will take a look at the gallery view but I will write other
articles about this plugin in the future for other use cases.
First of all, we have to open the command palette, search for Projects and click on “Create new project”.

Alternatively you can open your projects by clicking the button “Open projects” in your ribbon menu.
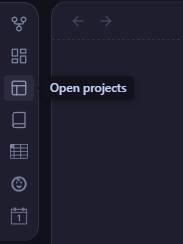
Once the plugin has been launched, click on “Create new project” button.

At this point you need to set up your project by choosing a name, how
you want to define which notes to include and the path to the folder you
want to manage.
In this case, I choose “Library” as project name and I want to include
notes from a specific folder called “Books”.
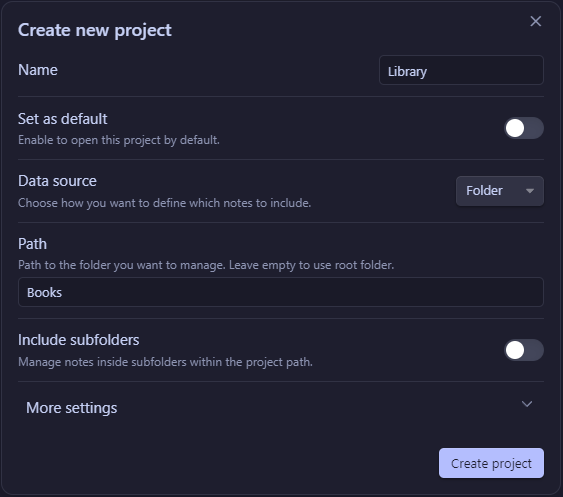
Once you hit the “Create project” button, the plugin will automatically show you a table view.
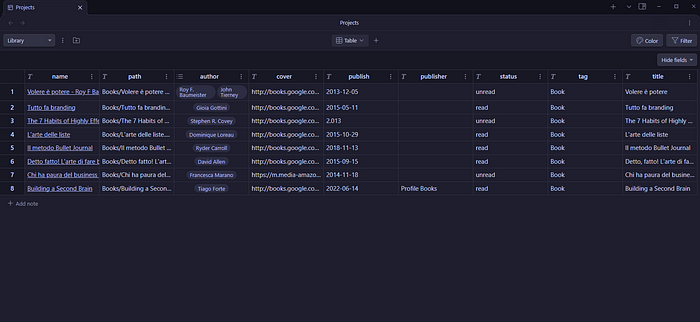
Let’s add a gallery view by clicking the “+” sign at the top, near to the “Table” button.

This is how it will looks like at the beginning.
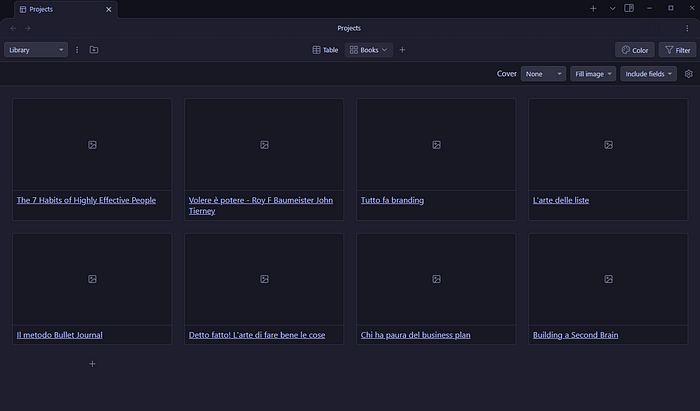
As you can see we need to make some adjustments: we need to fix the cover, the fields we want to include in the cards and the cards width.
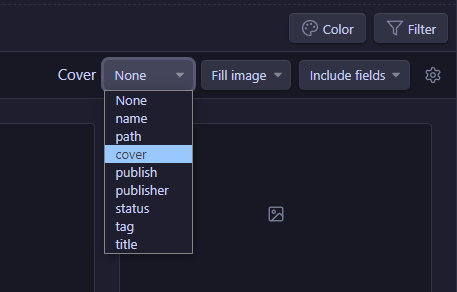
To show the covers, you have to choose which metadata field in your book notes should be used as cover. To do that, open the Cover menu on the top right and choose the “cover” field.
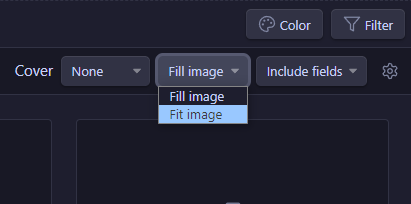
After that, set the image option to “Fit image” or your cover will look all stretched.
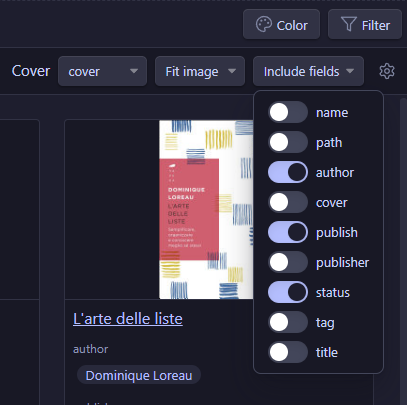
Now I want to include some of the metadata fields inside my cards. To
do that open the Include fields menu and choose the
fields that you want to see; I choose to include
the author name, the publish date and
the status.
Lastly, I want to adjust the card width at 250 pixels: hit the settings icon next to the Include fields menu and set the width you prefer.

This is the final result:

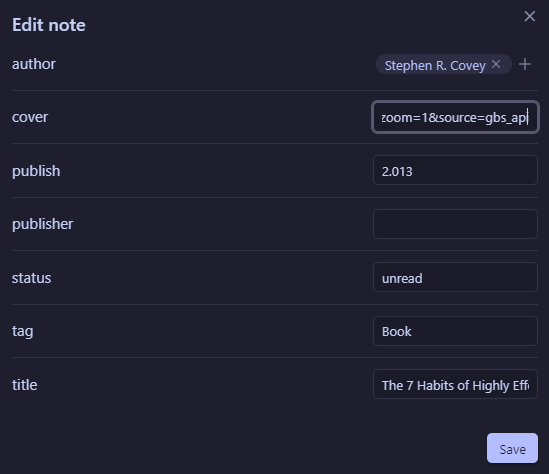
Final tip: once you’ve read a book, you can click on
the cover and change
the status from unread to read directly
from there!
As I said at the beginning of this article, there are various methods to keep track of your books, but I like to use Projects plugin and I think it works really well for this use case.
Which method do you use? Did you already know the Projects
plugin?
Feel free to comment and share your thoughts!